
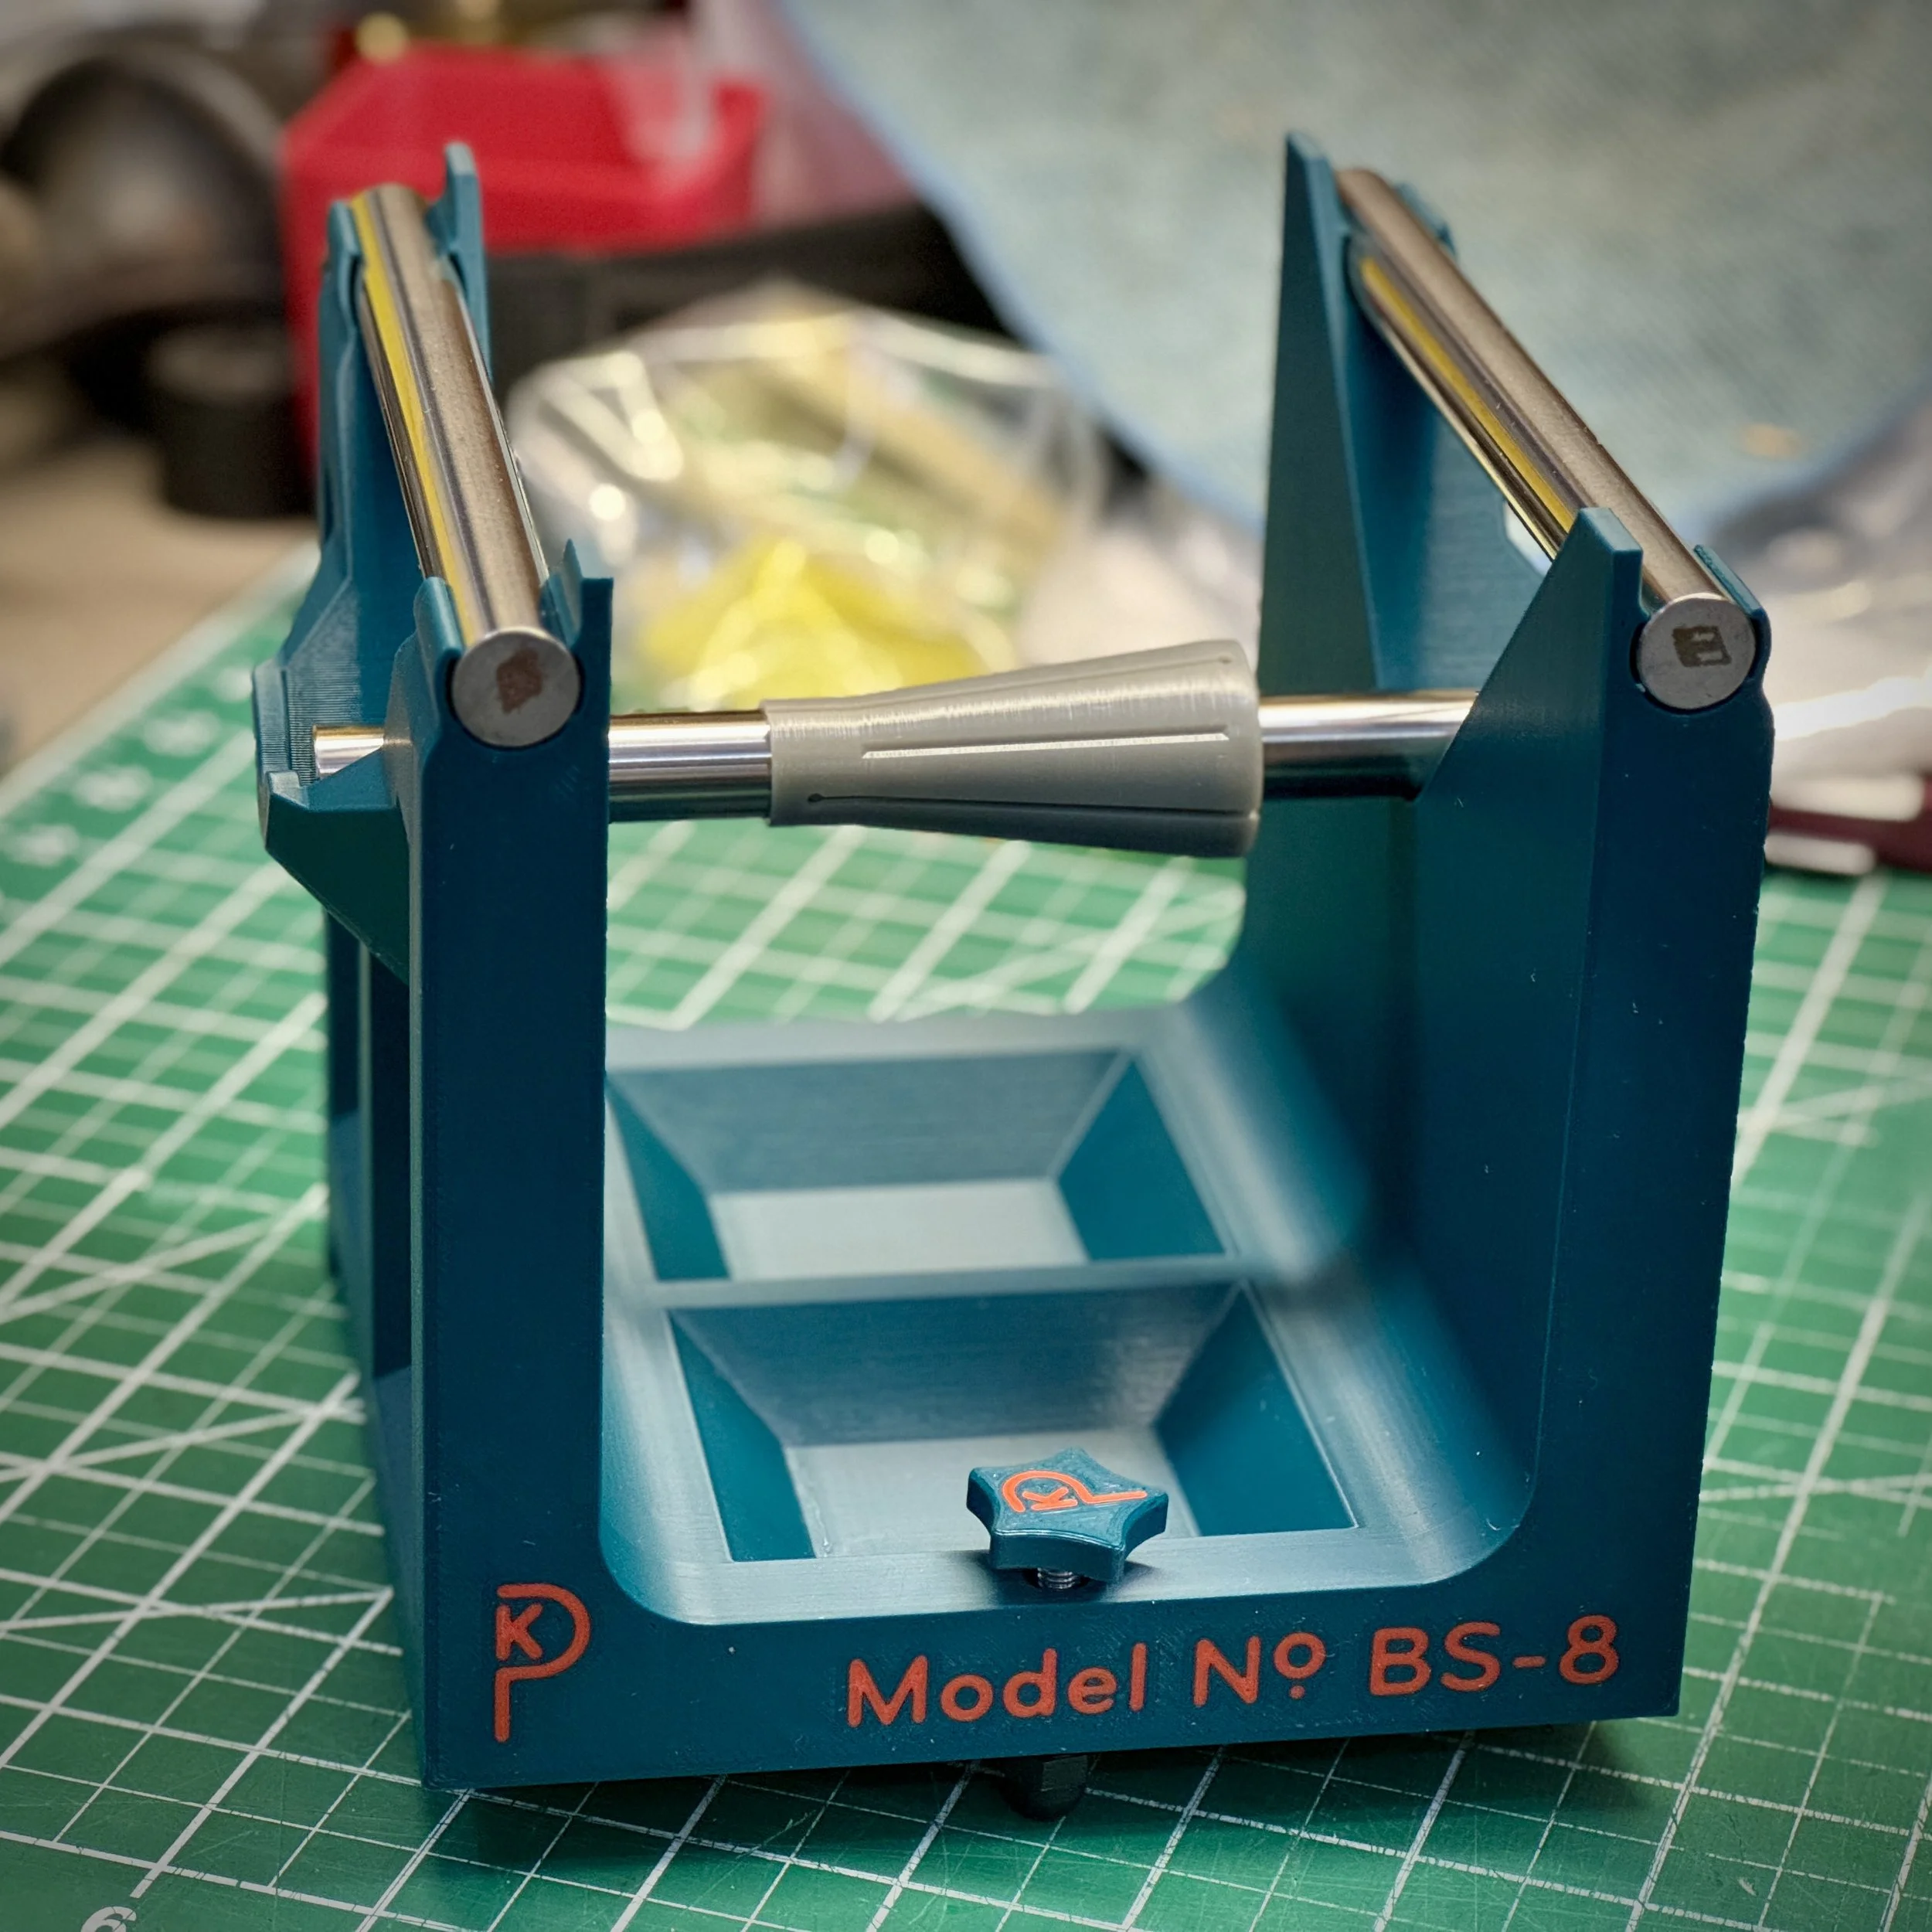
The BS-8 Balancing Stand from Kinetic Precision is designed to enable economical, effective balancing of grinding wheels up to 8 inches in diameter. It comes with a unique taper collet to fit most standard adapters, such as the Sopko 100-, 200- and 300-series.
The BS-8 Balancing Stand is designed to balance wheels up to 8-inches (200mm) in diameter. Sorry, you 12-inch guys aren’t covered with this tool.
Why Balance Your Grinding Wheels?
If you own a surface grinder, wheel balance isn't optional — it's the difference between a machine that grinds and a machine that fights you.
An unbalanced wheel shakes the machine once per revolution, every revolution, and that vibration shows up everywhere you don't want it.
It shows up in the surface finish: the wheel can't maintain smooth, consistent contact with the work, and the surface tells the story (especially after you use your PFG Stones®).
It shows up in stock removal: the cut varies unpredictably, so you sneak up on dimensions more slowly and trust the process less.
And it shows up where you can't see it — in the spindle bearings, which absorb that once-per-rev pounding hour after hour. Bearings wear out early, accuracy drifts, and eventually you're pricing repairs on a machine that just needed a balanced wheel.
Most owners of small grinders never balance at all. It shows — and it's fixable.
It’s Time To Balance
The TTB Method - Your Wheel Is a Pendulum
Here's the idea behind the BS-8, and behind our balancing technique, which we call the Time To Balance Method (TTB).
Mount a grinding wheel on an arbor and set that arbor on a pair of precision, level ways. If the wheel is unbalanced, gravity pulls the heavy side toward the bottom. Displace it and let go, and it rocks back and forth. Congratulations: you've built a pendulum. More specifically, a compound pendulum.
And a pendulum tells time.
A badly unbalanced wheel is a stiff, eager pendulum — it swings quickly, with a short period. A well-balanced wheel is a lazy pendulum — the restoring force is tiny, so each swing takes a long, long time. A perfectly balanced wheel wouldn't swing at all.
So instead of guessing at balance, or squinting at whether the wheel "wants to keep moving," you measure it. With a stopwatch. The time for one full swing cycle is a direct, repeatable, quantitative measurement of how well your wheel is balanced. Longer is better. That's the whole trick.
The classic Static Method — let it settle, mark the heavy side, add weight, repeat — works, but it goes blind right when things get interesting: near good balance, friction lets the wheel stop just about anywhere, and it stops telling you anything. The Time To Balance Method (TTB) keeps talking. It hands you a number, the number improves as you improve the balance, and you know exactly when you're done.
And it gets better: the stopwatch is generous in a way that isn't obvious. Doubling the swing time doesn't mean twice the balance quality — it means four times. Going from 3 seconds to 25 seconds means you've reduced the imbalance by a factor of about fifty. When your stopwatch reads 25 seconds, you have removed essentially all of the imbalance you started with.
TTB on the BS-8 - A Physics Simulation
Many thanks to Dylan of Proteum Machining for generating the initial version of this simulation! Thanks, Dylan, this is a great illustration of the TTB Method. (And P1 exceeded 15 minutes! LOL)
This really displays and teaches the TTB Method! Play with it! (Mobile users: you’ll want to go horizontal for this.)
About the TTB simulation above: This is a live, physics-accurate model of a wheel oscillating on the BS-8 — not an animation. It solves the same equations of motion the real BS-8 obeys, in real time: what you see swinging is what you'd see on your bench, and the readout is measured from the simulation itself, reversal to reversal, exactly the way we teach you to time a real wheel. Try it. Set a heavy imbalance and watch the wheel swing quickly. Now reduce the imbalance and watch the swing slow down — and notice how long you wait for a reading. That wait is the whole TTB Method: the better the balance, the longer the swing takes. The model assumes a typical vitrified wheel one inch thick (no bore), plus a representative hub and arbor, so the times shown are representative rather than exact for any particular wheel — but the behavior, including the rolling friction that slowly shrinks the swing, is the real thing.
NOTE: The Imbalance Mass is actually a point mass modeled on the outer perimeter of the wheel, despite being shown slightly inside.
(The simulation code is published on GitHub under the MIT License)
What is the Model No. BS-8?
The BS-8 is a balancing stand for grinding wheels up to 8 inches in diameter — the 6-to-8-inch wheels that run on small surface grinders. (Sorry, 12-inch guys.)
The heart of the stand is three identical precision shafts: ½-inch diameter, 6 inches long, 1566 carbon steel, case hardened to Rockwell C60, ground and finished to 8 microinches. Two of them are the ways. The third is the arbor your wheel rides on. The ways sit 4.75 inches apart in a structure printed from toughened PLA, chosen for stiffness, with symmetry carefully maintained throughout.
Let's address the elephant in the room: yes, the structure is 3D printed. But look at where the precision actually lives. The measurement happens where hardened, ground steel rolls on hardened, ground steel. The surface finish of those shafts is about one percent of the smallest imbalance the 25-second criterion certifies. The plastic isn't significant in the measurement loop — its only job is to hold two rods still, parallel, and level. The symmetry and stiffness of the thoughful design diminishes error sources such as twist. This allows it to do it’s job very well, and it's a big part of why the BS-8 costs what it does instead of more than an order of magnitude more, as does other systems.
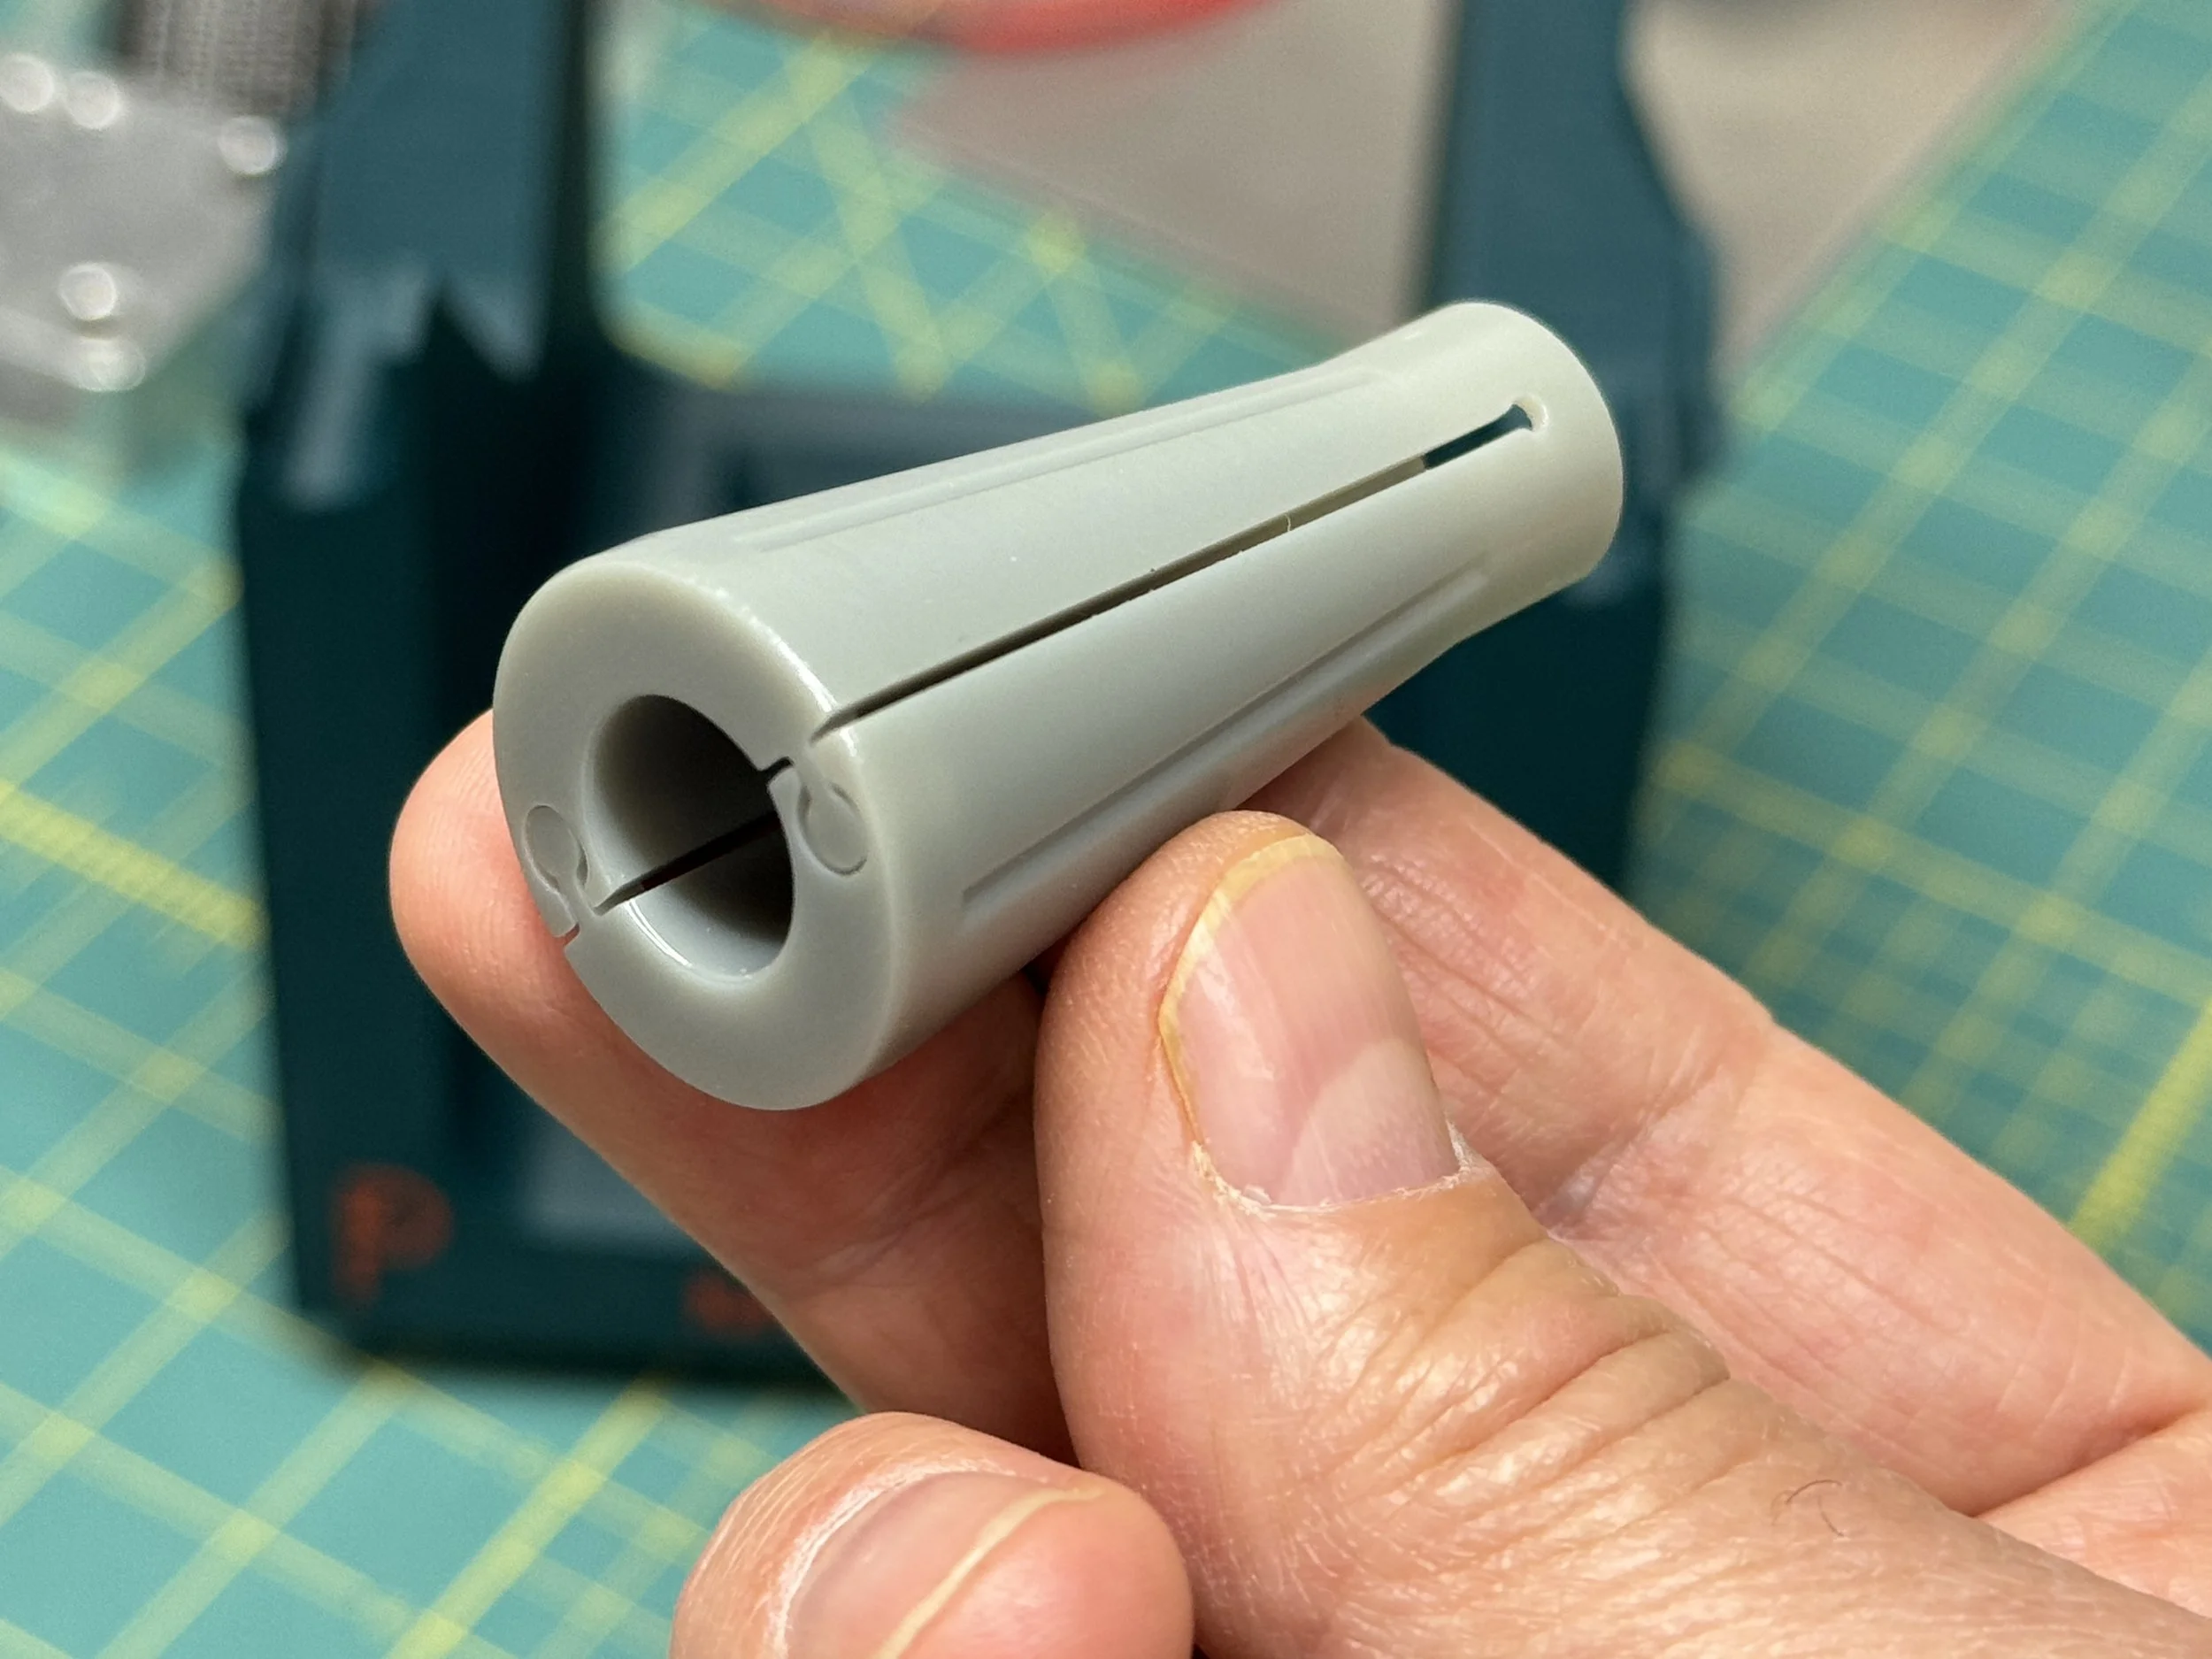
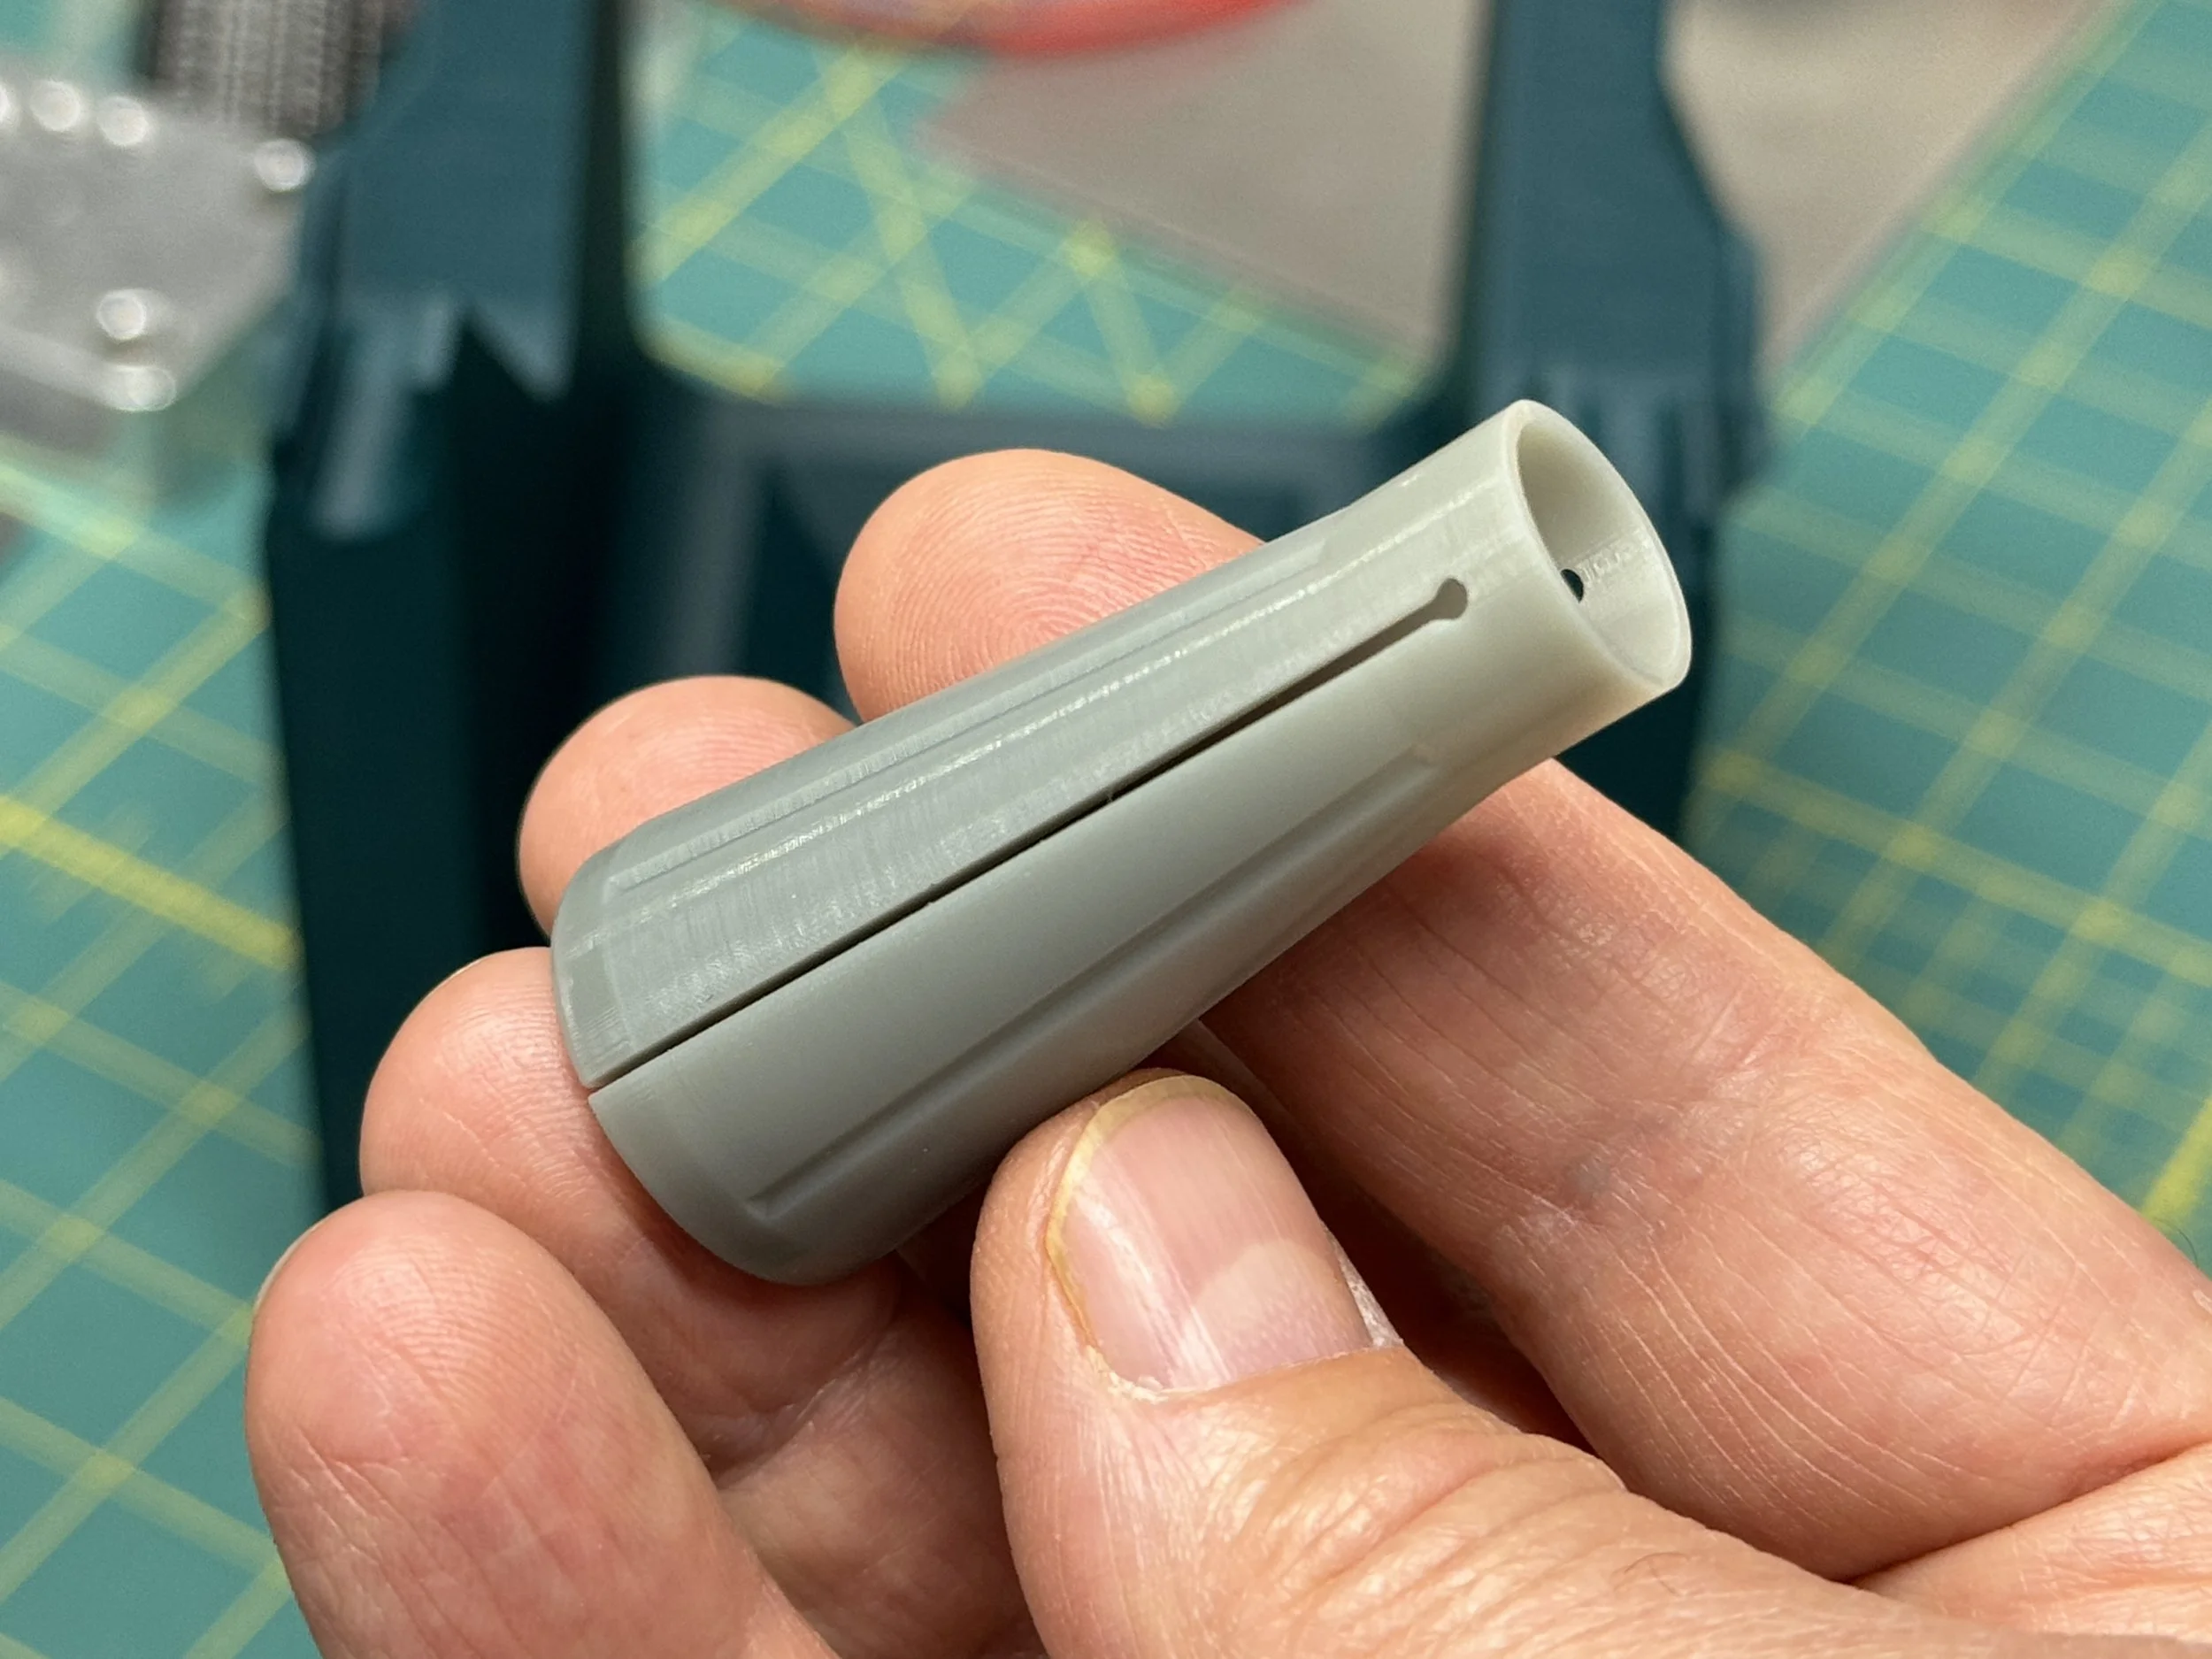
Included with every stand is a tapered arbor collet, SLA-printed in a tough polypropylene-like resin, that adapts the ½-inch arbor to the taper of the common Sopko-style wheel adapters (Models 0100, 0200, 0300, and similar — the same adapters our B-200 Balancing Ring fits). Push the collet into your wheel hub with the arbor inside and it locks in place with a firm press. Great care is taken in manufacturing to keep the collet symmetrical, so it doesn't contribute imbalance of its own.
One leveling screw, a three-point stance, and that's the whole machine. No bearings (we tried; they're terrible for this — too much friction). No electronics. No batteries. Nothing to calibrate, and the stand levels itself with its own arbor, as you'll see below.
Another really cool feature of the BS-8 is the way rods: if you get a scratch on them, you can rotate them to use a different part of the rod! Just grab the rod with your fingers, and rotate it a bit. That’s it! And if your arbor rod ever gets scratched, you can swap it for a way rod, hide the scratch on the bottom, and you’re back in business! Try THAT with other designs! Just remember to slide the rods into the base, don’t try to snap them in. They really are Rockwell 60, so all of this is unlikely, but it’s nice to know the option is available.
The frame of the BS-8 is designed to store your arbor safely. It can’t slide out sideways from the storage position (see photo above). Don’t ask why we were motivated to design this feature. Sigh.
The BS-8 comes in colors, check the ordering page for availability.
Setting Up: No-Roll Leveling
The ways must be reasonably level along their length, or the arbor rolls downhill and may limit the ultimate achievable balance. The BS-8 makes this a thirty-second job:
Place the stand on your surface plate or a solid bench.
Set the bare arbor (with taper collet, but no wheel) across the ways.
Watch it. If it rolls, turn the leveling screw until it doesn't.
When the bare arbor stays put wherever you place it, you're level. Done.
That's it — the arbor itself is the level, and it's quite sensitive. Rolling friction sets the limit of this adjustment, and that same friction is part of the error budget of the whole method (more on that on the technical page).
Side-to-side level — across the ways rather than along them — is far less critical. Get it reasonable by eye and don't lose sleep. The physics is forgiving in that axis.
The Time To Balance Procedure
Here's the technique, exactly as we teach it:
Mount your wheel on its adapter properly. Blotters intact, nut properly tight. Don't skimp — if the wheel shifts on the hub, balance is lost.
Insert the arbor collet, with the arbor rod inside, into the hub taper. Give it a good, firm push. It locks in place.
Set the assembly on the ways and let it settle. Fresh wheels almost always have enough imbalance to swing themselves heavy-side-down and show you.
Roll the heavy side up 90 degrees and release. The wheel begins to oscillate.
Wait for a reversal — the moment the swing stops and changes direction — and start your stopwatch. Timing from a reversal, not from release, keeps your hands out of the measurement. It is really important to start timing at the reversal, and NOT when you let go of the wheel. We don’t want your hand to influence it.
Stop the stopwatch one full cycle later, at the same reversal. Over and back and over again — one complete round trip.
Write that number down.
A freshly mounted wheel may typically clock 3 to 4 seconds. That's your starting point, and now you know it as a number instead of a feeling. Now starts the balancing loop:
Correct the imbalance. This is where the B-200 Balancing Ring comes in: mark the light side, mount the ring with its setscrew toward the mark, and add four ¼-20 setscrew weights to the light side, two on each side of the set screw. The object is to cause the wheel to flip - the light side becomes the heavy side. Now you know your balance solution is achievable between the two states. No holes drilled in your wheel. Nothing done to the wheel at all.
Re-measure. Repeat. Each round: adjust weights, roll the heavy side up 90°, time one cycle, write it down. Watch the number climb.
When your stopwatch reads 25 seconds or more, stop. You're done. More is better; 25 seconds is enough. Chasing 40 or 60 seconds is a fine sport — and the stand will happily measure it — but for wheels in this class, 25 seconds means the remaining imbalance is below what your grinder will likely show you in the work.
Then proceed as always: true the wheel on the machine, and because truing removes material unevenly, expect to re-balance after truing. With the stopwatch method the re-check takes under a minute, so balancing becomes as routine as dressing — which is exactly how it should be. The full mount–balance–true cycle is laid out on the Balancing Ring page.
What 25 Seconds Buys You
Most owners of small grinders simply do not balance their wheels. It shows — in surface finish, in chatter, in spindle bearings that wear before their time. There's a persistent myth that small wheels don't need balancing. We think that's pernicious nonsense: small machines have small diameter spindles, and are likely more sensitive to imbalance, not less.
The BS-8 and the Time To Balance method are, deliberately and honestly, an 80–90% solution. This is not a dynamic balancing machine, and it doesn't pretend to be. It will not chase couple imbalance on wide wheels, and it can't null out the last microgram. What it does is close the gap that actually matters — the enormous one between unbalanced and balanced — for a tiny fraction of the cost of the alternatives, with no electronics and nothing to go wrong.
You will feel the difference with your fingertips on the wheel housing. You will see it in the finish. And if you own a pair of PFG Stones® (of course you do, right?!), you'll see it in high definition: PFG-stoning a ground surface reveals the once-per-revolution "wheel hop" of an unbalanced wheel that hides under a rough finish. Balance the wheel, grind, stone again, and the hop is gone. The PFG Stones® reveal the problem; the BS-8 measures it; the B-200 corrects it; the PFG Stones® confirm the fix. That's the system.
For the Curious Nerds: The Physics
Everything above works without a single equation. But if you want to know why it works — why an unbalanced wheel on a rolling arbor is a textbook compound pendulum, why the period depends on mass and inertia, why friction and way tilt corrupt the old Static Method at first order but only touch the period at second order, and where the 25-second criterion comes from — we wrote it all down.
The complete technical treatment is here
It's free. Take it, use it, argue with it. That's the point.
Specifications
Capacity: Grinding wheels up to 8-inch diameter (6–8 inch typical)
Ways and arbor: Three precision shafts, ½" dia. × 6", 1566 carbon steel, case hardened HRC 60, 8 µin surface finish
Way spacing: 4.75 inches
Structure: Toughened PLA, 3D printed, symmetric design
Leveling: Single-screw, three-point stance; no-roll self-leveling via the arbor
Arbor collet: Included; SLA-printed tough resin; fits Sopko 0200-style adapter tapers (3-inch taper per foot), for example
Power required: None. Batteries: None. Software updates: Never.
More is better. 25 seconds is enough.
If you have questions, feel free to CONTACT us!
Updated JULY 4, 2026 - Revision 2.2